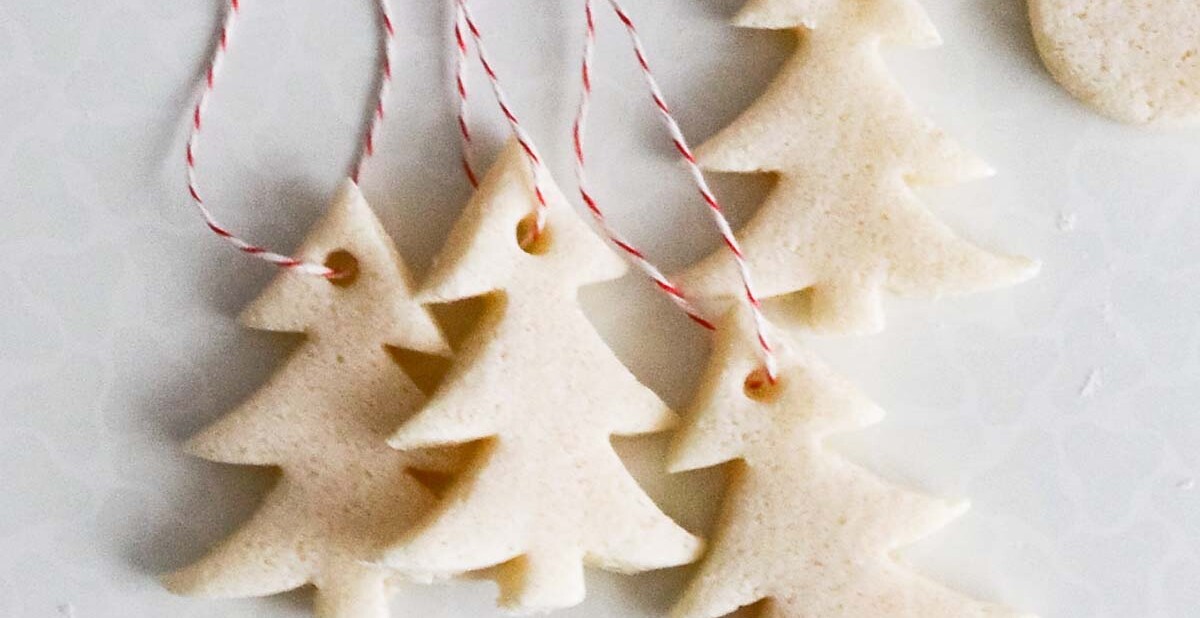
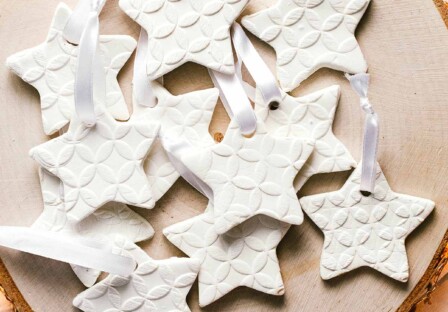
Homemade salt dough ornaments made with three ingredients only. You can use salt dough ornaments on your tree as they hold up really well.
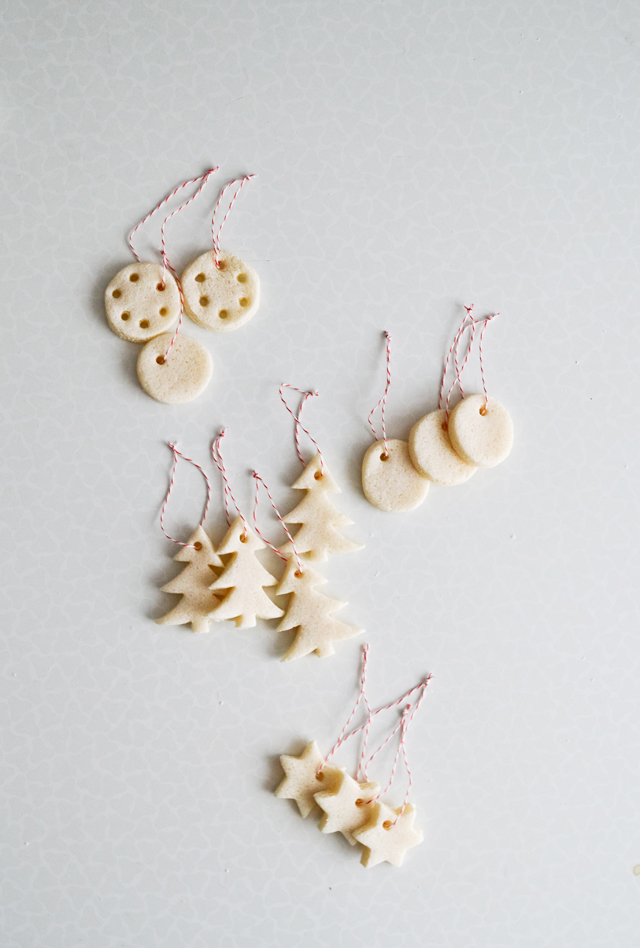
I can’t remember the exact first time I made these, but I had to be around 5 years old. And I don’t remember the last time I made them either, but it has been a while. Lately I’ve been thinking a lot about ornaments that are safe for pets.
Overall, I think none are perfect, but salt dough ornaments are still a lot safer than the ones made from glass. These can’t break, or if they would they’re not dangerous, and if one of my cats happened to get one, I know nothing bad would happen. So, I decided to make some.
These salt dough ornaments are really easy to make and this is definitely one of those DIYs that can be a family one. I think kids of any age would love to participate.
More craft recipes to explore
- Baking soda ornaments with cornstarch (Similar to these, but snow-white and very versatile.)
- Cinnamon sugar body scrub (Makes a great gift on a budget.)

Recipe
Salt dough ornaments
Instructions
- Preheat your oven to 175°F (80°C).
- In a bowl, combine flour and salt. Add half of your water and mix all ingredients together (use a spatula or a mixer with the dough hook). Gradually add water and continue mixing the ingredients until you get a hard ball of dough that isn't sticky. (Add more flour if it's too sticky.)
- Slightly flour your working surface and knead the dough for a minute or two. Roll it out to about 1/2 inch thick or less.
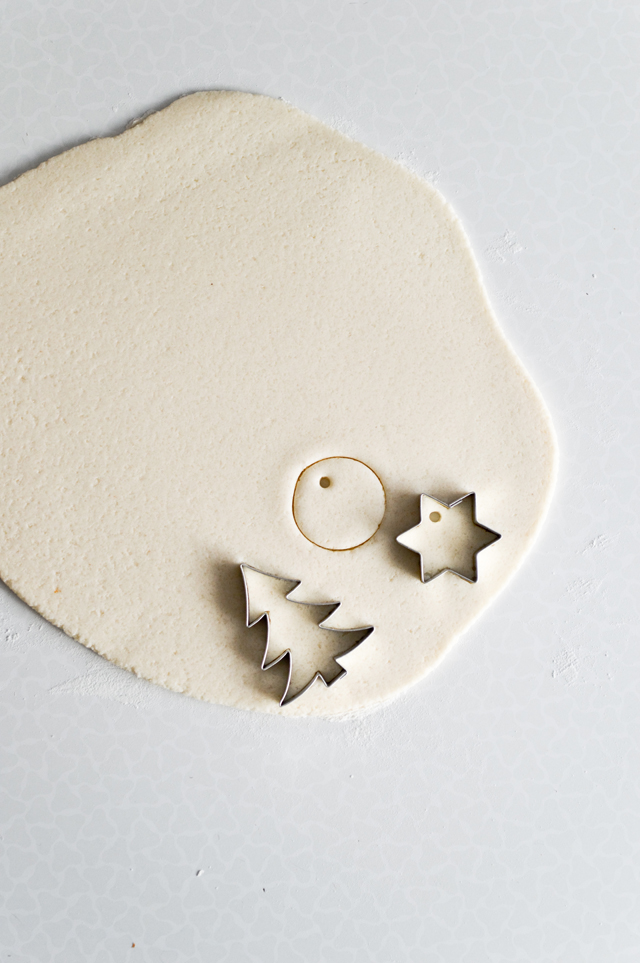
- Cut out the desired shapes and transfer them on a baking sheet, covered with baking paper. Cut out the smaller holes (for hanging the ornaments) with a straw (just firmly press it into the dough).
- Put the ornaments into the oven, but don’t fully close the oven door. I let mine slightly opened. This is important because we are drying the ornaments. If the oven is too hot, they will cook. Let them dry for about 15-20 minutes.
- Turn the oven off, flip the ornaments over, close the oven door and let the ornaments in, in case they haven't dried completely. The amount of time needed depends on the thickness of the ornaments. Let ornaments cool, then thread through the twine.
Notes


These are really cute 🙂 We used to make them when I was a kid.